Have a look at the "User's Manual" section for more informations.
About Areca
End user documentation
Technical informations
Misc
Site mirrors
© 2005-2023 Olivier PETRUCCI
© 2024-2026 bugtamer

Tutorial
Configuring your first target
Updated on 2025-08-04.
It is assumed that you've installed Areca using the default procedure of your system (Linux or Windows).
Before starting
Configuration directory
Areca will need a directory where it will store the configuration of your backups (what files to backup, where to store them, which files types must be filtered, whether the backups are compressed or encrypted, and so on). This "configuration directory" is called a workspace.
In this tutorial, I assume that your workspace is /home/olivier/areca_workspace.
Backup directory
Areca will also need a directory (on your local hard drive or a USB drive, for instance) where to store your archives. This directory will be refered as Backup directory. I assume in this tutorial that your backup directory is /backups.
Launching Areca
Simply run the areca.sh script (on Linux)
or areca.exe (on Windows) ...
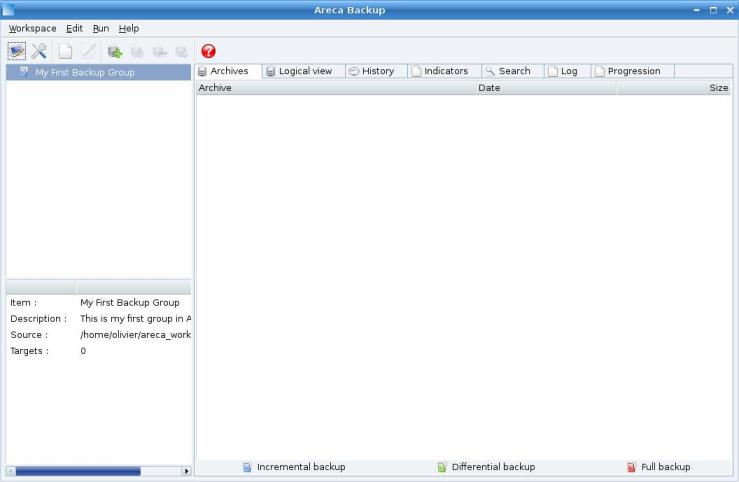
A new window like this one should appear :
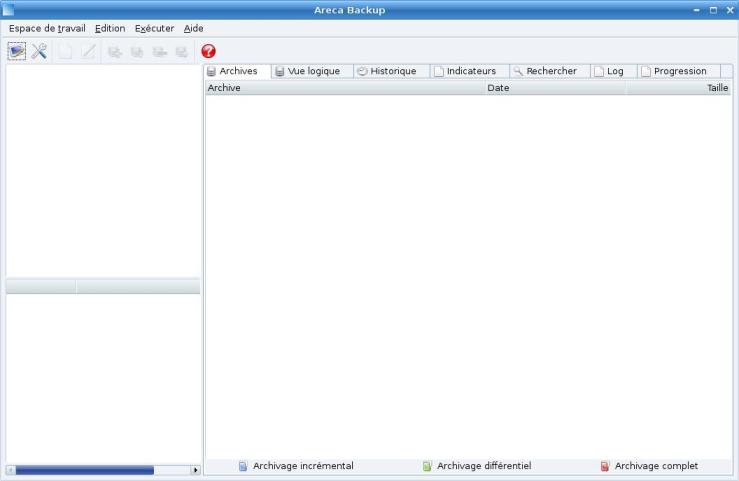
Choosing your workspace
As said before, we want to store our configuration in
/home/olivier/areca_workspace,
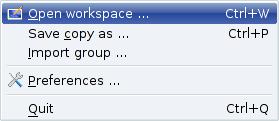
so go to the workspace menu,
choose Open Workspace ... option
and select /home/olivier/areca_workspace.
Creating your first group
You can create multiple backup configurations in Areca (targets). For instance you can create a first configuration that backups your MP3 without compression, and another one that backups your documents with compression and encryption.
Areca allows you to optionally group your configurations (targets) so they will be easier to manage. Targets can be standalone if you want, you do not need to create any group to create or use a target.
Nested groups are allowed. You can also use drag and drop to move targets or groups.
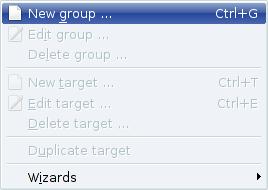
To create your first group, go to the Edit menu
and select New Group ... option.
A new window will appear, asking for a Title
and description :
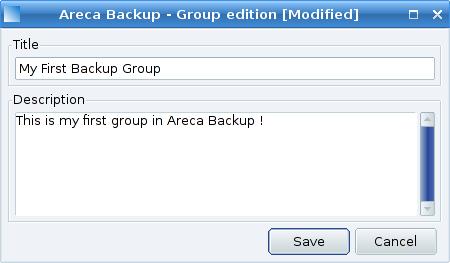
... and click the Save button.
Your new group magically appears in the main window :
Creating your first target
A backup configuration is called target in Areca.
To create your first target,
select My First Backup Group,
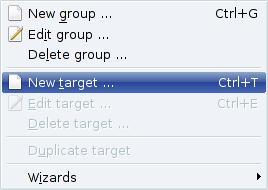
go to the Edit menu,
and select the New Target ... item :
A new screen appears ...
Target configuration
Main Tab
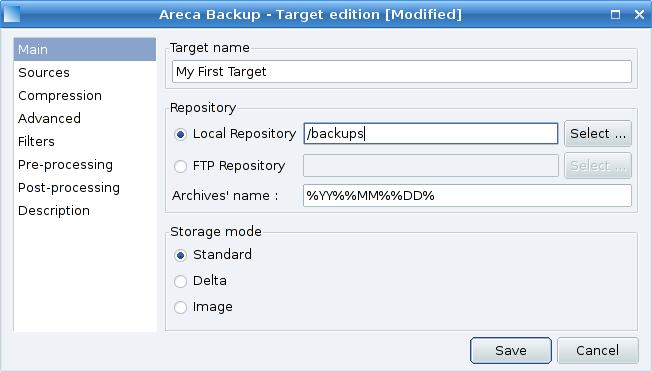
Keep all other fields unchanged and go to the Sources tab ...
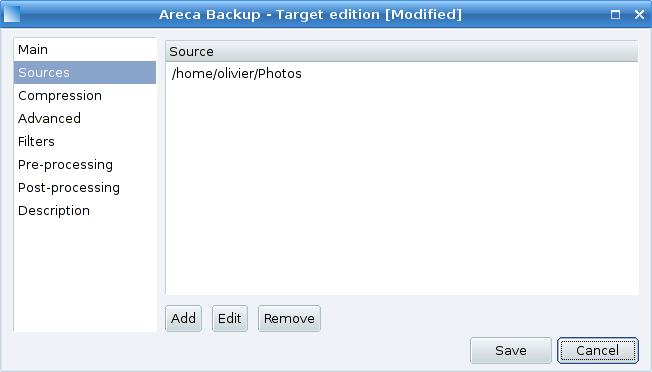
Sources Tab
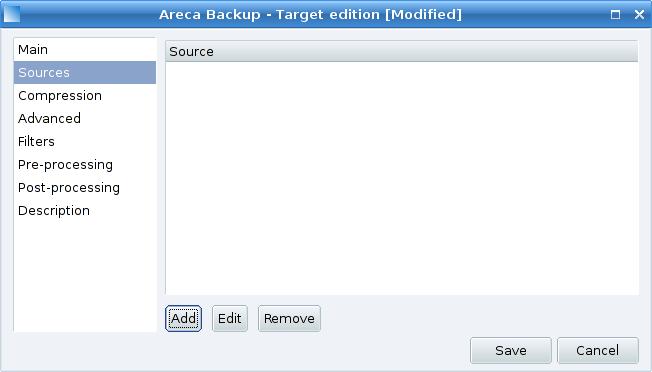
Click the Add Button,
and select a directory
(for instance : /home/olivier/Photos)
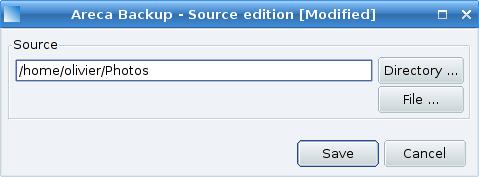
/home/olivier/Photos appears in the sources list :
Compression Tab
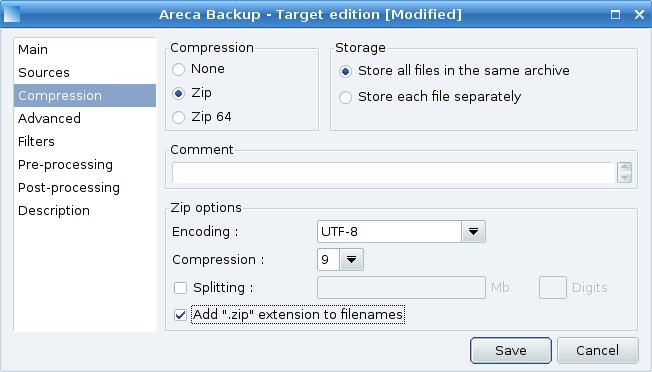
In our case, we just want to create standard zip files, so keep the default settings, and simply check the add .zip extension to filenames checkbox.
Once you're done, go to the Advanced tab ...
Advanced Tab
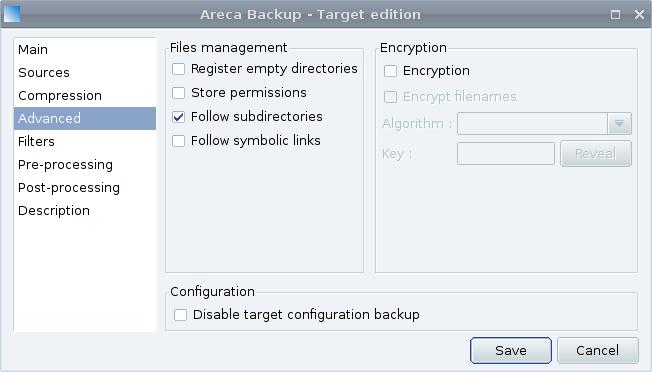
In our case, we don't want encryption, so keep the default configuration and go to the filters tab.
Filters Tab
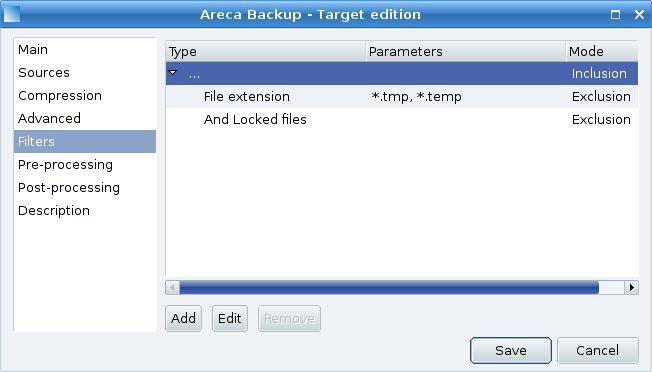
By default, Areca excludes *.tmp and *.temp files as well as locked files.
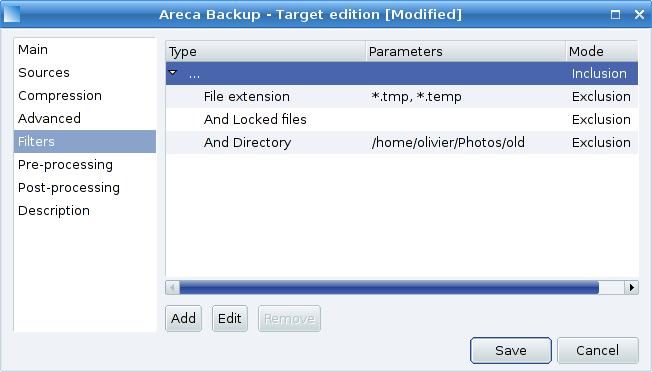
If you want to add a new filter
(for instance to exclude the /home/olivier/Photos/old subdirectory),
select the ... filter item
and click the Add button :

Pre-processing Tab
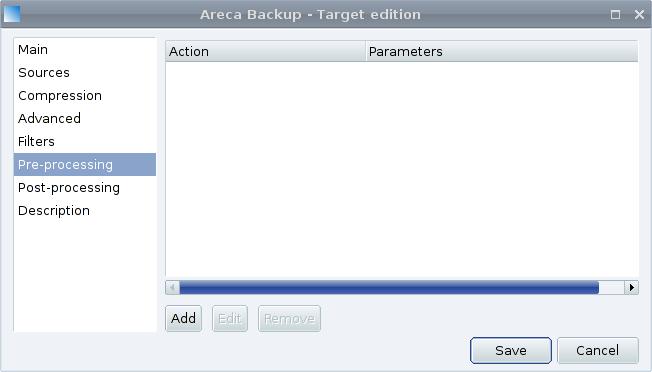
We don't want any pre-processing, so go directly to the post-processing tab.
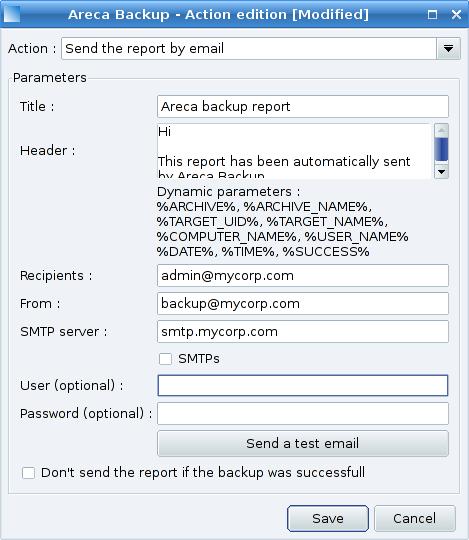
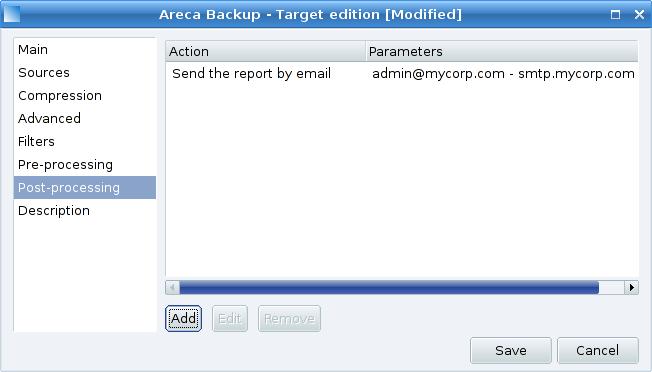
Post-processing Tab
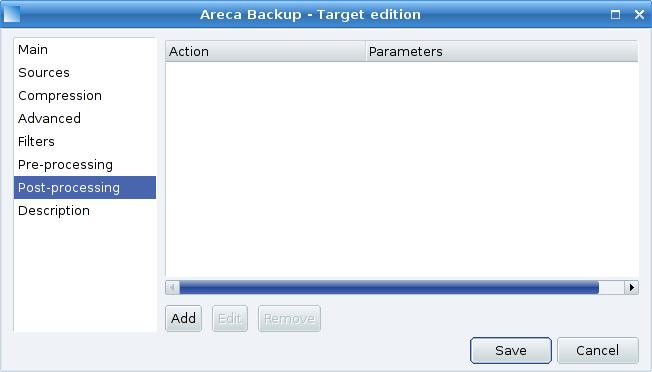
We want Areca to send an email to admin@mycorp.com, using the SMTP server smtp.mycorp.com after each backup.
To do that, click the Add button, and select Send the report by email.
Fill the Title,
Recipients,
From
and SMTP server fields as shown bellow :
Go to the Description tab.
Description Tab
Enter whatever you want : it's just for information purpose.

That's it ! You've created your first target with Areca Backup !
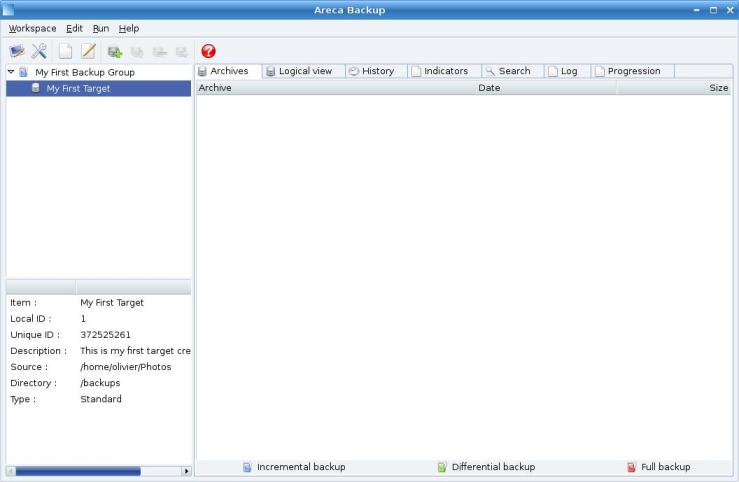
Step 2 : Running your first backup